
Bork, bork...
So, some time ago (during the Dusty Butt) the RHS fork seal on the WR started leaking. I attempted to fix it my cleaning it out with a Seal Doctor but this wasn't successful. So I bought some new seals and put them on the bench while I carried on giving the old seal more grief...
 |
| Old seal (dust seal removed) |
But, I also started doing some research as I was a little bit nervous about giving this job a go myself - I've had to have a few fork seals done in the past and always left it to the pros. But, I thought that it was time for me to do some learning.
This video was very helpful:
Last weekend the on the job learning began in earnest...


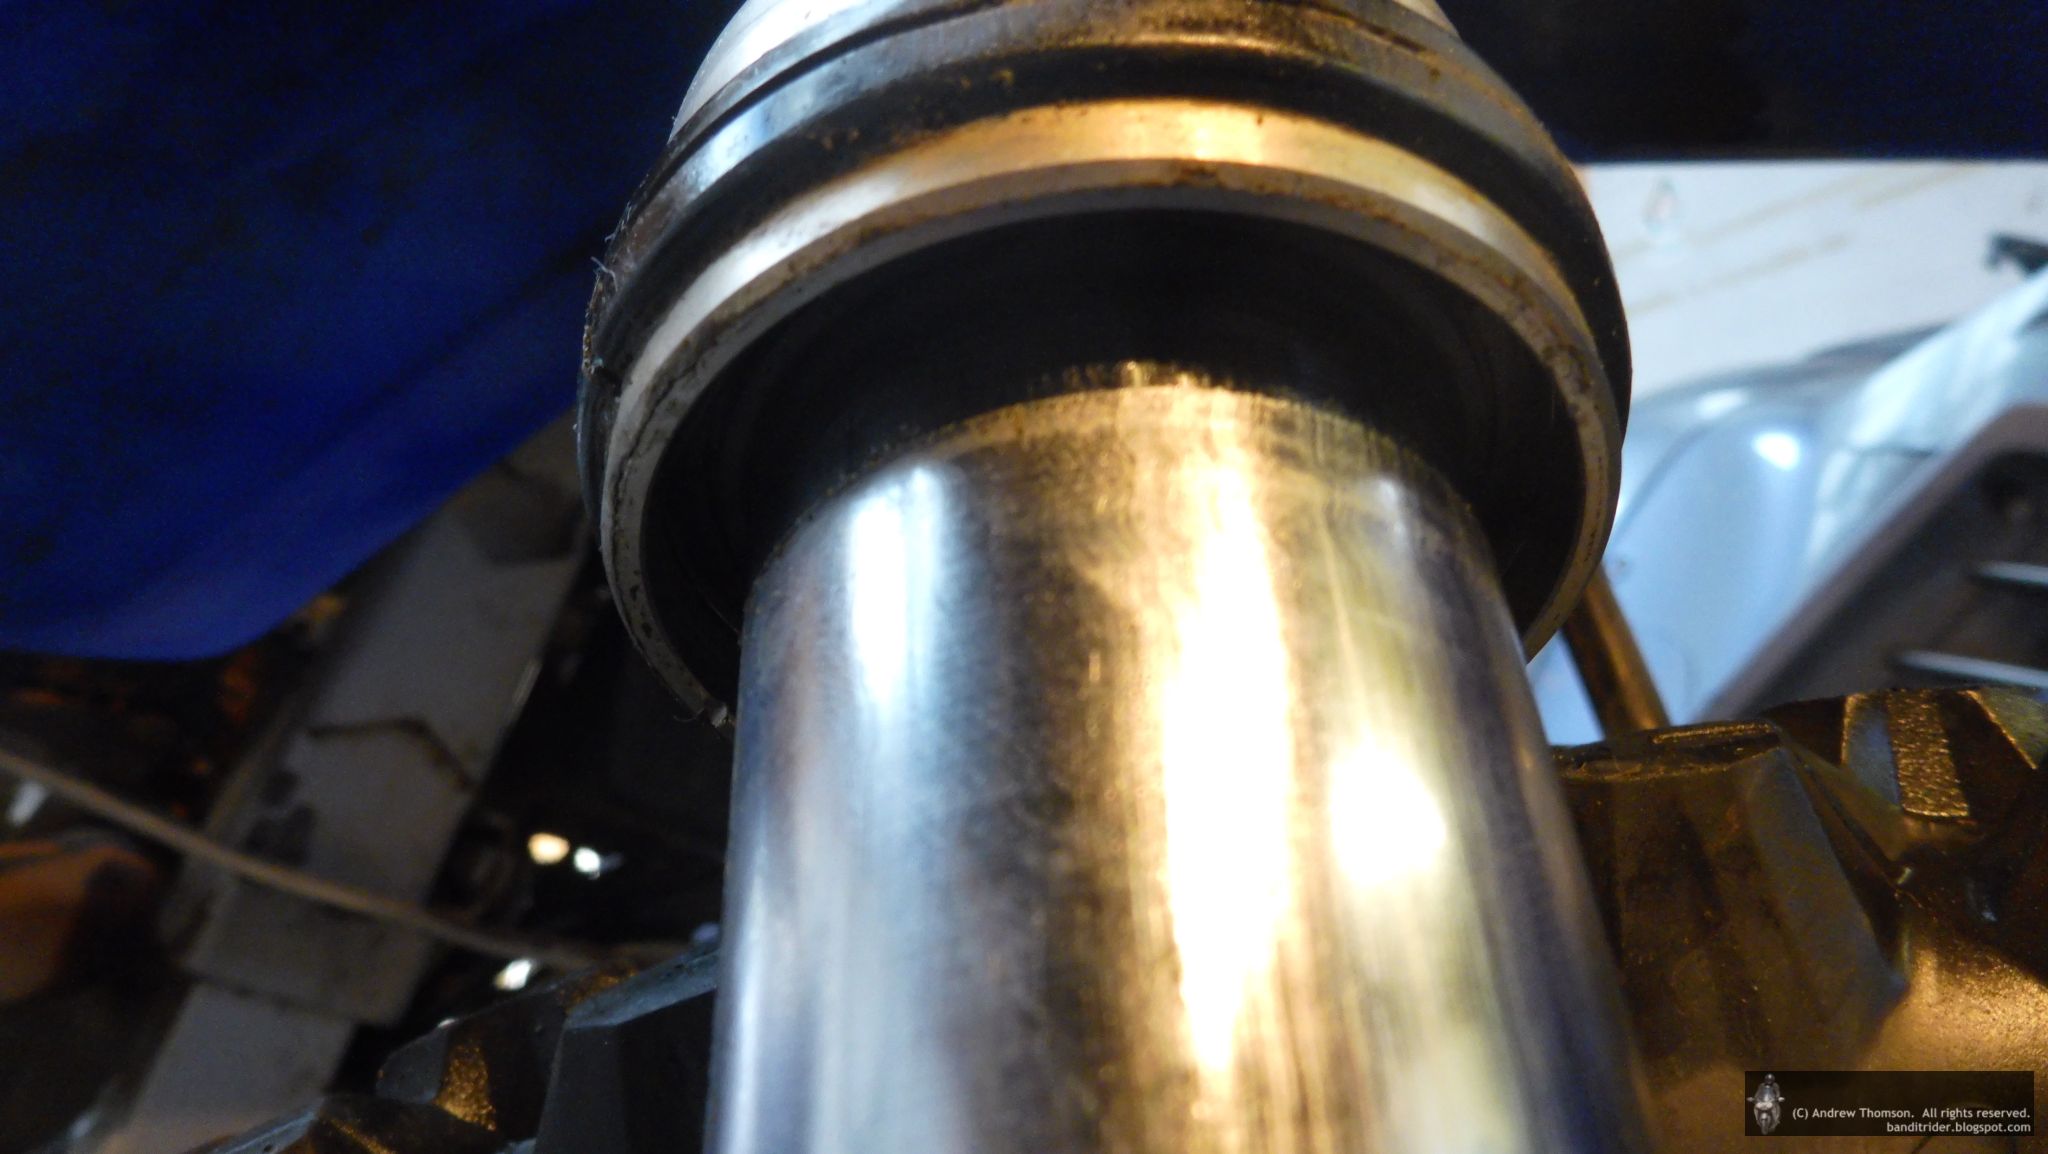
Well, so far so good. Now to see what's inside...

 |
| A useful picture for later |

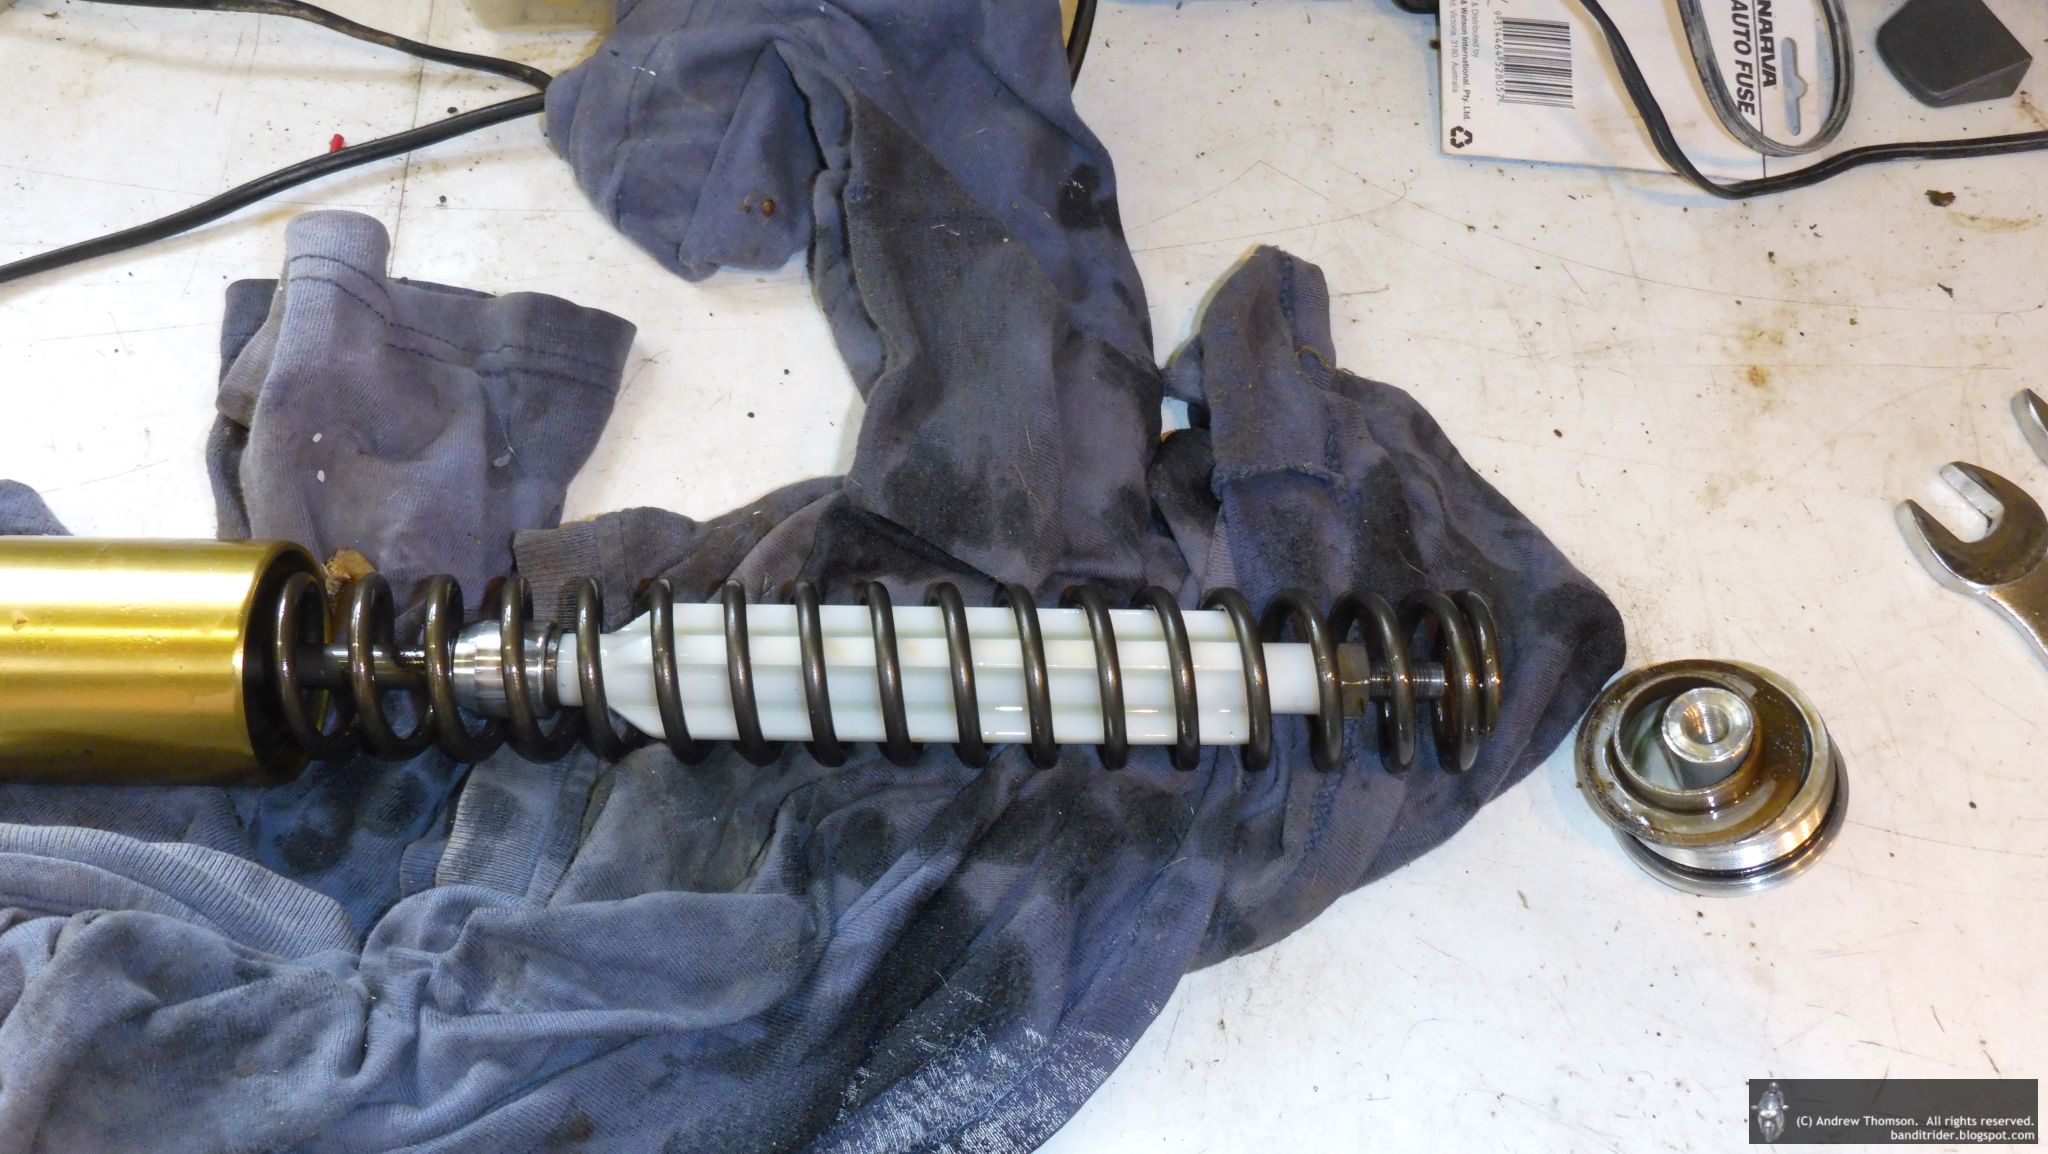
 |
| Time to get rid of this one |
Once I had things in pieces it was time to check the fork for damage. The best way to do this is to rub the back of your thumb nail up and down the tube. Even the smallest nicks will "grab" ya nail as you slide it over them. And bingo, I found quite a nasty little sod.

As per the video, I attacked it with some very fine sandpaper. And it took an age...
I ended up having to use a little bit of slightly more coarse sand piper before going back to the very fine stuff to polish it off. I then got a second opinion from Dad and we pronounced it "good enuff".
Fast forward a week and it was time to put the new seals in and get everything back together.
The new dust seal went on first and then the fork seal itself. Just like the video, I used some thin plastic to thread the seals over the tube without damaging them. I also used a little bit of grease on the seal and some fork oil on the tube.
Next up was seating the seal and this required a new tool.

This dohickey is used to gently "whack" the seal into place and I really did have to use a little elbow grease to seat the seal - all the time worrying that I was going to damage the new seal. But in the end it was in far enough to get the retaining clip in it's groove and we were well on the way to getting things back together.
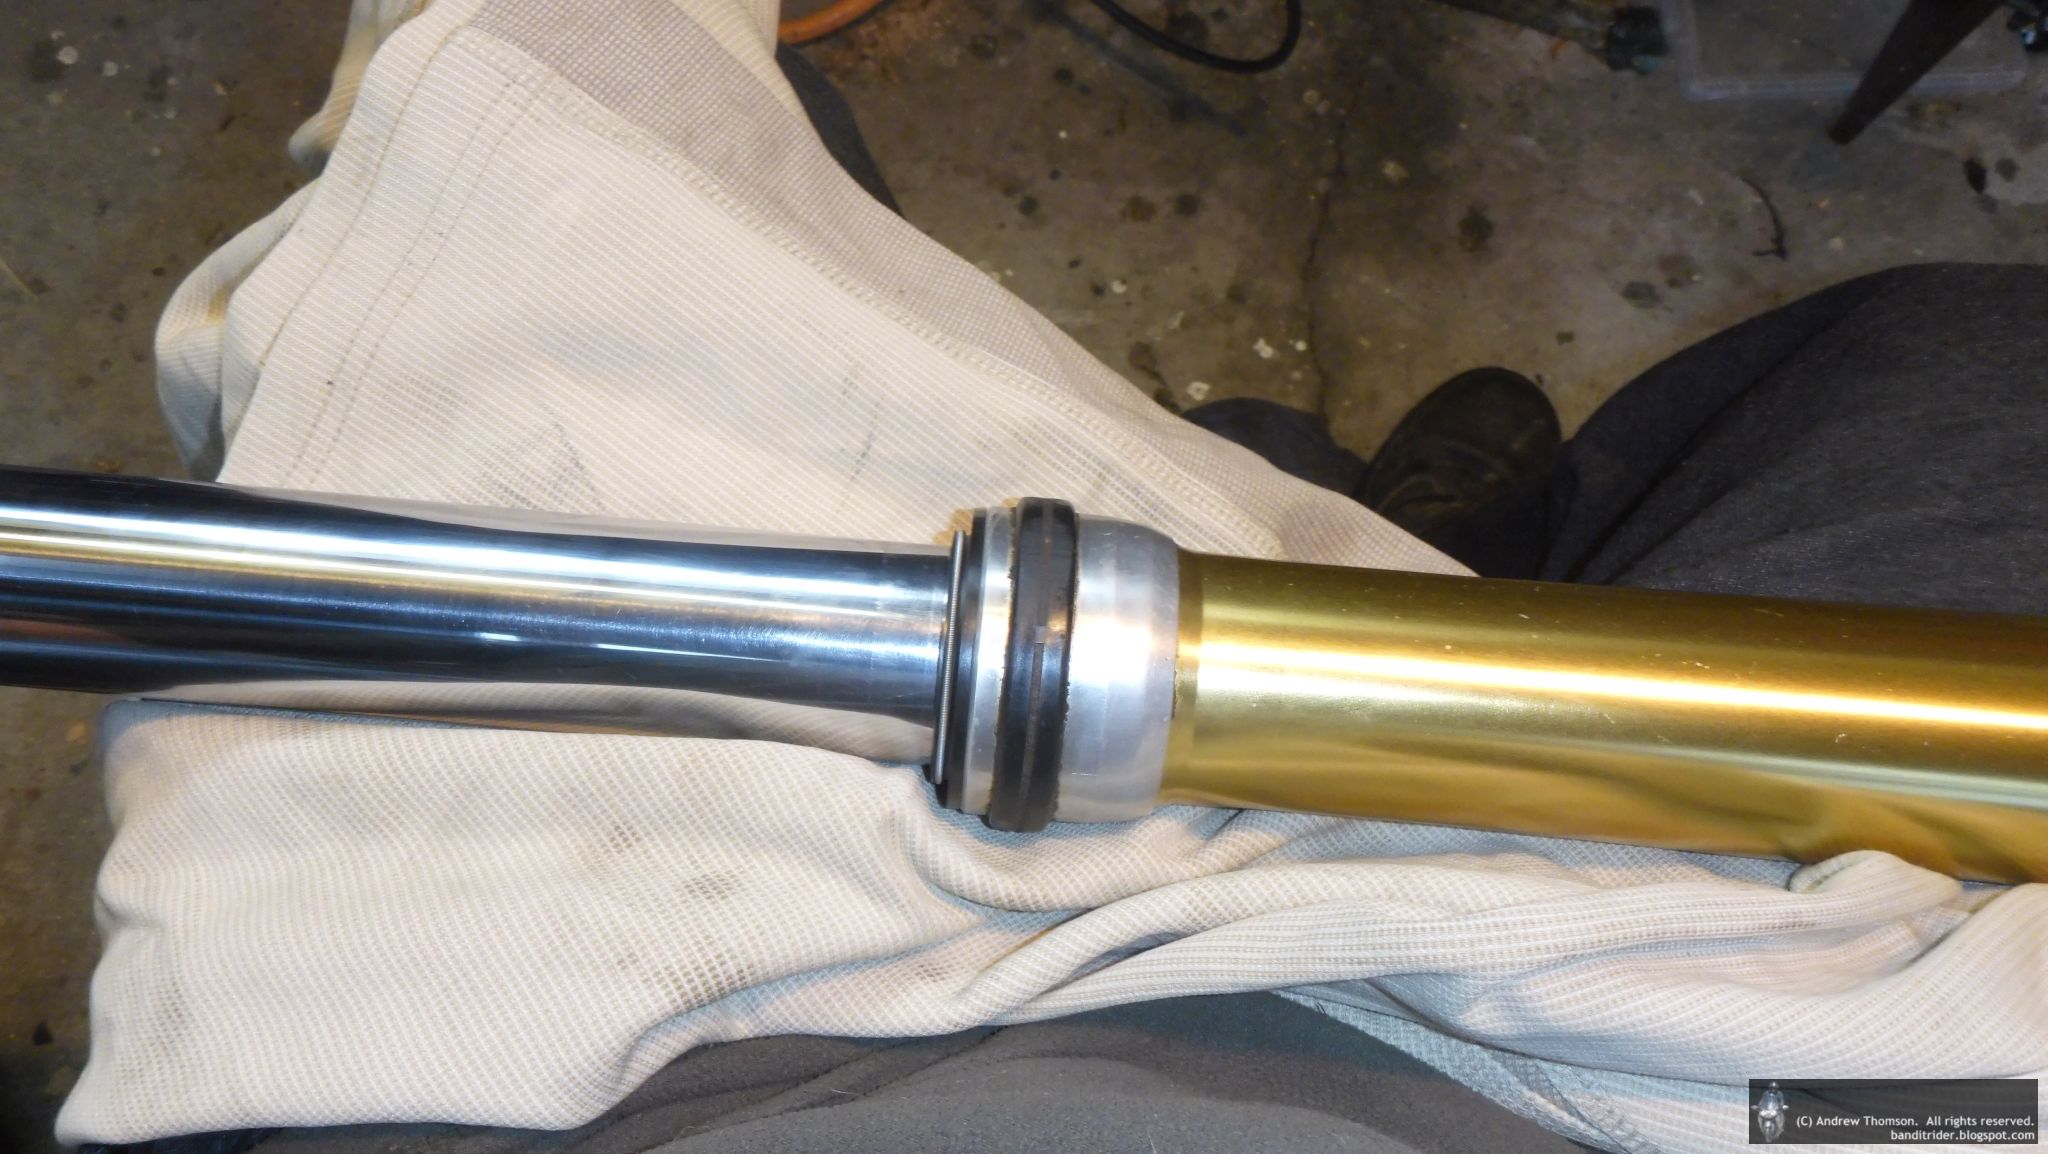 |
| Clean fork and new seals |
Then it was time for some of this:


After wrangling the spring and fork cap on (one of those jobs that really needs three non-slip hands) to button things up.


And now I just need to get some more oil so I can change the oil on the other side and test my work...
Well done!
ReplyDeleteIt was either that or add a third wheel and some weird front suspension...
DeleteNo, wait a minute - it was never gonna be that ;)
Nice work Andrew! As you show, time, patience and care is needed. I upgraded the Blackbird forks with new internals and measuring the air gap accurately was the most time consuming. It may not be politically correct to say so but the biggest annoyance during the wholeprocedure was the 2 Jehovah's Witnesses who turned up whilst I was doing it and didn't take the hint :-) . You seem to have mercifully been spared that complication.
ReplyDeletePatience and care eh? Wonder what that is? At least it's a Yamaha and can take all sorts of ham-fisted abuse...
DeleteJehovah Witnesses would never get past my vicious guard dog (who possibly slept through the entire operation) and if they did I might convert them to my way of thinking - some sort of petrol-powered pagan conversion therapy...