Showing posts with label Zumo. Show all posts

Wednesday, December 26, 2018

Zumo install #2

Thanks to E-Bay (cheaper), a second cradle for the Zumo turned up just before Xmas.  So Xmas Eve seemed like the right day to install it on the Connie...

The job turned out a bit easier than on the Tenere but I did have to do some improvising...

After removing the old cradle off the Connie's Projekt D mount I noticed a wee problem.

Crap design!  (Tenere's mount pictured)
The mount is perfectly flat but as you can see the Zumo cradle has a "bulge" at the bottom where the harness is wired in.  Enter Mr Heath Robinson...

To get things to fit up nicely I had to make some spacers.  Rummaging in the shed I stumbled across the old handle-bar weights off the V-Strom.  These had a nice little bit of rubber (with some tube running through the centre) fitted to them.  I ended up chopping the two rubbers (and tube)  up to make the four spacers I needed.  I was then able to reuse the longer bolts out of the old Zumo's mount and Bob's your uncle!

Well, it's on...
It's not that pretty (and the bolts are too long) but it'll work until I think of something else.  One added bonus is that there's even more rubber-mounting - vibes shouldn't worry the GPS much...

Annoyingly, I'll need to order another weather cover...
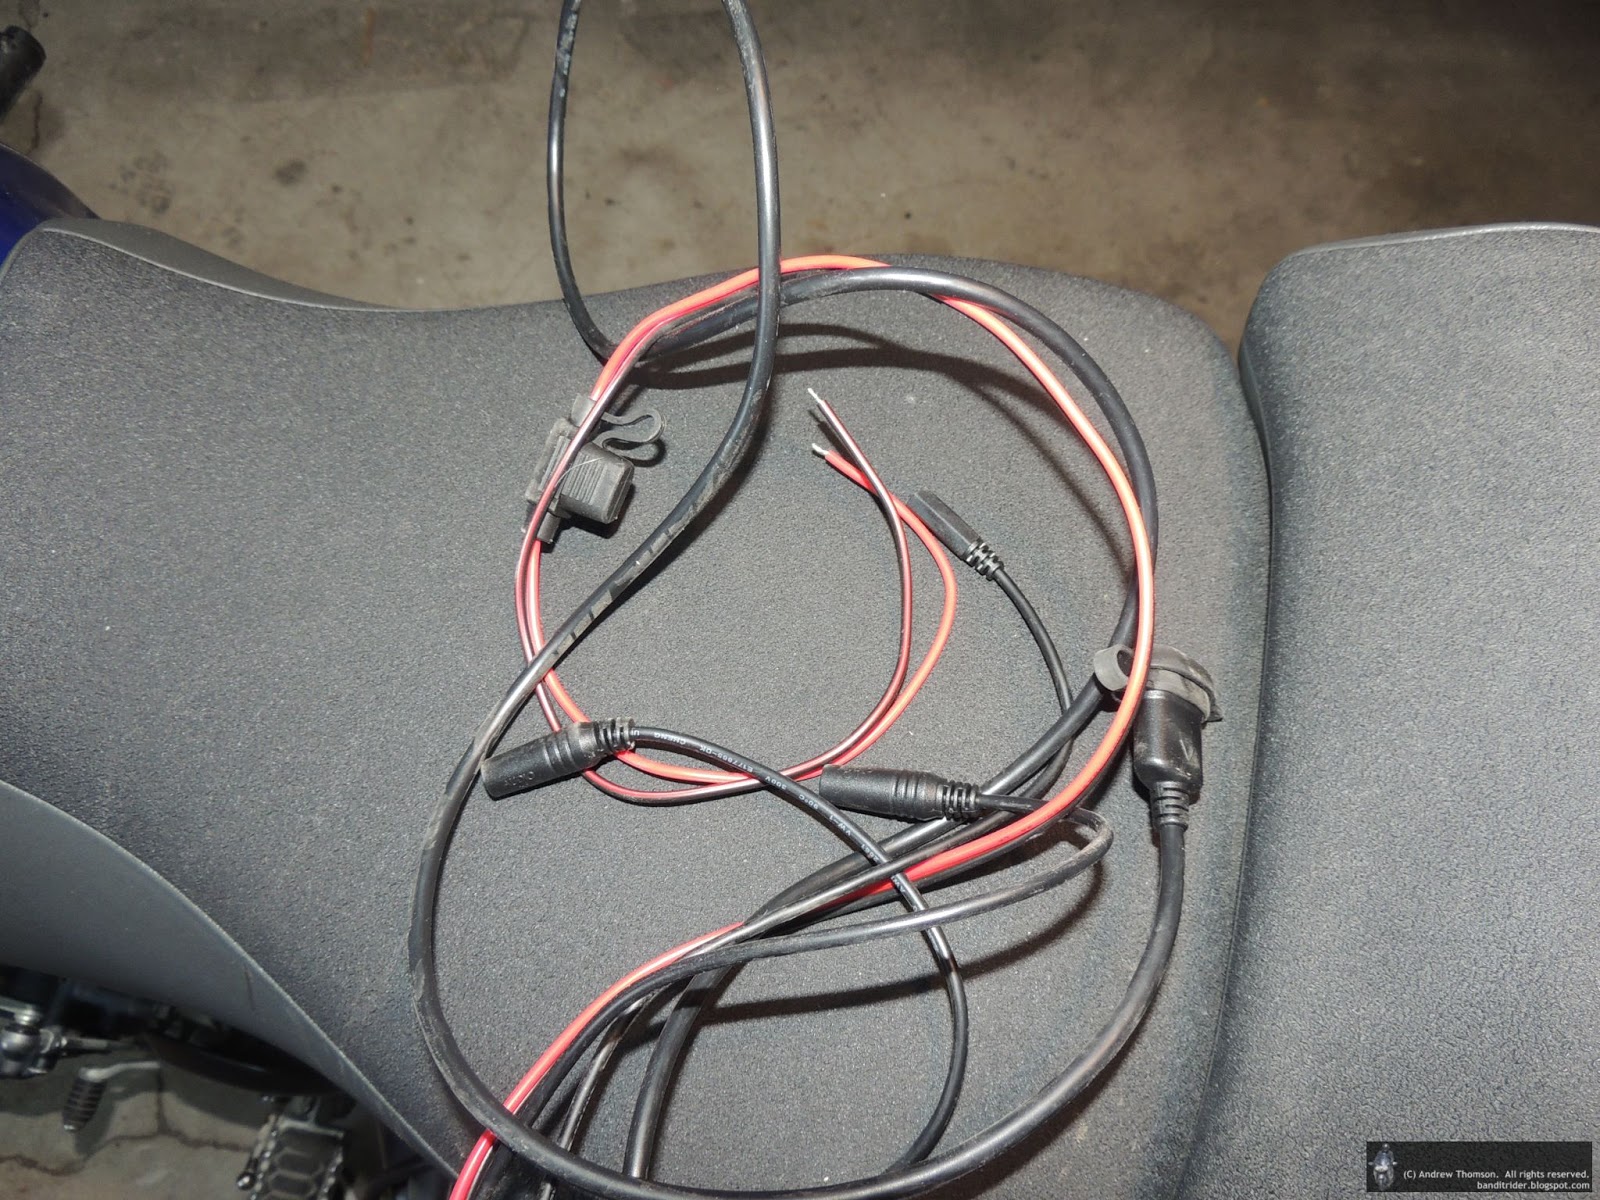
Next up was the wiring job and on the Connie I have it wired to the battery so had to add a couple of terminals to the harness and then find a place for everything.

In progress, harness went in just where that other bunch of cables are.
And I even ran the USB cable up into the Glove-box.  Could be handy there.


Time for a test.

Snug fit!
And this is pretty close to what I see when pedalling.


Sorted!

Tuesday, December 25, 2018

Zumo install #1

Right, time to get my hands dirty...

Annoyingly, though unsurprisingly, the Zumo only came with one motorcycle mount/cradle so that has meant buying an extra one so both bikes can use the flash new toy.  But that's getting ahead of myself - first bike to get the new unit was the Tenere.

The first steps were of course, removing the old Zumo's cradle and fitting the new one to the SW-Motech mount.  No problems there - a handy feature of the SW-Motech mount is that the piece the cradle is bolted to can be removed from the bike.


In place with weather cover fitted
Next up was to attack the wiring harness.  One thing you might notice is that it is hard-wired into the cradle (unlike the old one), not sure if I like this - could be a pain later on if you just want to remove the cradle for some reason.

Looks tidy all coiled up nicely eh?
As it turns out, the harness is a quite a complicated bunch of cables.  There's power (funny that), plugs for line-in, line-out and microphone and even a USB plug.  Somehow all this has to fit in under the Tenere's already crowded fairing panels.


As with the old Zumo, I wanted the GPS to be hot all of the time so that it will remain going when doing things like fueling up on a long distance ride (I want all of that geeky data from the ride that the GPS saves) and also to wire into the Tenere's PC-8 fuse-block instead of directly onto the battery.  This at least meant that I could chop the fuse out of the harness...

PC-8 and plenty of grime...
Anyway, after a bit of experimentation and ensuring that I held my tongue right, I managed to get all the harness bundled up and stashed in the little tool pocket above the PC-8 (PC-8 lives in there too) and was also able to run the USB cable up near the steering head of the bike.  And now I also have a hot all the time USB socket too - bonus.

And look!  It even works!


The photo above exaggerates it a little bit, but you can see that just like the old unit (before mods) the GPS does block the gauges a little bit.  To see the top line (not shown) of data on the LCD you have to duck down a little.  The mod that Dad made for the old Zumo unfortunately doesn't work - I'll have to come up with something else at some stage...

Well, that's one down...

Monday, December 24, 2018

Merry Xmas to me...


Well, the box actually arrived a few weeks ago and yes, it's a farkle and I've only just got around to blogging about it as the farkling process is more or less complete...

A few motorcycling mates worked out what it was when I posted the above pic on Facebook.  So here's what's in the box.

Another box!
Yep, after putting up with a few issues with my old Zumo it was time for a new one...

Well, almost ready to use...

I'd been humming and harring for months on whether to get the 396 or the more expensive 595.  There's quite a difference in price but luckily it's not just for the 0.5" larger screen.

Stuff!
Unlike the 396, it also came with a car mount and of course there's a few more features on board.  Maybe I'll post up about them once I work out how to drive everything properly.  But first, I'd better get the thing installed eh...

Old vs new

Tuesday, November 13, 2018

GPS woes

Ok, so the poor old Zumo has been having a few issues of late and I now fear that she is fading fast and may have to be retired 😢

While the route worked fine on Saturday there were a few other interesting issues:

  • Continually telling me how far to the next turn - on occasion interrupting songs 4-5 times!  It seemed to get worse the further into the ride I got so I ended up turning the Bluetooth off on the GPS.
  • Telling me that I was off route and suggesting recalculation even though I was bang on the purple line all the time.  This also seemed to get a little worse later on in the ride.
  • Not telling of upcoming turns.  Kinda funny considering issue #1.  Caused one episode of sudden braking and quick turn.
  • As I neared home I cancelled the route (which would just take me into town) and just said take me home.  Unit locked up for a while before waking up.
Yeah, but other than that all good...

So, I'm currently shopping...Looking at either the Zumo 595 or 396.  Only interested in Garmins as that's what I know and Mapsource/Basecamp are pretty easy to use.  Also, I think both will be capable of driving my Virb too.

There's a $400 difference but from what I see you don't really get a lot more except a slightly bigger but higher rez display.  I'll need to buy an extra cradle so I can use it on both bikes so that's even more $ so the 396 is probably looking more likely at the moment.  Also concerned that the slightly wider 595 might struggle to fit where the current 550 is on the Connie.

But, if anyone's got any opinions - I'm all ears!


Wednesday, June 29, 2016

Mid-week farkling

On Monday I was most impressed when a package arrived in the mail...


Nice box, what's in it?

Some sort of jig-saw puzzle...
I've been waiting for this for a while and very keen to get the Zumo mounted up on the Tenere so that I could go and get lost and then hopefully find my way home again...

Last night it was time to do the install in my cold and dark garage.  First up I had to pull bits off...

Even the dash had to be unbolted
Lucky this was the easy part.  The hard bit came next, mounting it up...

My issue was that I have the Yamaha wind deflectors fitted and they aren't really compatible with the SW-Motech bracket...Well, I was having none of that.  What I had to do was drill out the front mounting holes on the deflectors to accept the larger bolt that would go right through into the GPS bracket - scary stuff!  But, you know what?  It worked.

The next little issue was the crappy plastic (!) bolts used to screw the deflectors on.  Due to the front bolt on the deflectors being very solid it was a little hard to line up the other bolts and the stupid plastic screws got a hiding.  I lucked out and found 4 similar sized allen head bolts in my "spares".  These went in sweet as.  The plastic ones ended up somewhere else...

Bracket in place with the Garmin cradle screwed onto it
The next job was to find a route for the GPS power supply and tidy up the extra cable that wasn't required.  Then it was time to button everything up by sticking all other bits back on the bike and adjust the position of the GPS to suit my sitting position on the bike.


probably should tidy the bench up one day...
While the mount is a pretty good design, you can see from the next pictures that it is not ideal for use with the Zumo 550.  The cradle just hangs down too much.  A more modern widescreen GPS would sit a lot nicer.  This is about as good as I could get.

It's alive!


It is not quite as bad as that last photo shows.  In my normal sitting position it is just the very top line of the Tenere's screen which is a little hard to read.  The GPS is also not quite at the best angle for viewing.

However, it will do for now and I have an idea on how to get it sitting in a better position - watch this space...

Sunday, September 20, 2015

Video geekiness

I've been meaning to write-up this little post for a while so if you've been waiting for it, here it is...

You may have noticed that lately a few of my videos have got a bit of information overlaid on them - speed, the route I'm taking, elevation etc.  So how did I do it?

Well, a while ago someone had posted up the below video on how to use free Garmin VIRB software.


The software is designed to be used with Garmin VIRB products but the video did list a few other Garmin devices that it works with too.  Zumo 550's weren't on the list but I thought it was worth a crack.

Well, bingo!  It worked and was pretty easy to use as well.


Getting the data onto the video is pretty easy but the software is otherwise fairly basic in it's functionality.  For my videos I've been creating the video in the VIRB software, saving it and then editing it again in my other video editing software to add other bits and pieces.  A bit time consuming but it works...

Even Nev has had a go on this great bit of video:


So there's at least two geeks out there using it...

Sunday, April 24, 2011

Pottering in the shed

Over the last few weeks little packages have been arriving from all over the place (the US, Japan and NZ) but I've had to wait for them all to arrive before diving in and sticking them on the DL.

First up was a stebel - I love the one on the Connie and the standard horn on the DL was pathetic. I got the horn locally from Fast Bike Gear but it also meant that I needed a mount from Twisted Throttle and a plug and play harness from Eastern Beaver (the single horn relay kit). After removing a fair bit of plastic I got the mount and the horn on and then had to find the

stock horn so I could pull the wires and plug into the harness.

This proved to be a bit tricky - where was the damn thing? I tooted the horn and listened from both sides but could still not pick it's position. There was nothing for it but to fire up the laptop and check Stromtrooper.com for some assistance. Well, it turns out that the horn is tucked in behind the radiator and it was a bit of a mission to get at and then plug the wires into the harness but we got there in the end. Finishing the job simply required me to hook the harness to both the stebel and the battery, finding a place to stash the relay and that was it - turn the key on and a quick toot confirmed all was good.

Next up was something pretty daunting for me as I'm not an electrical expert at all - it was to install a fuse box from Eastern Beaver so that I could run all my other doo-dads of it. This fuse box would give me 7 fused circuits to use: two hot all the time and 5 that only work once the key is on. Installing the fuse box was actually quite easy with the only difficult thing being finding the brake light connector (under the tank) which plugs into the special harness that came with the fuse box and provides the switched power to the fuse box.

Once the fuse box was set up I plugged in the wires for my electrical doo-dads and then tidied up the wires and velcroed the fuse box to the bike.


The next job was to fit some Oxford heated grips and as this was my second time around for this job, this went pretty well. The only difficult part is trying to run the wiring and keep it tidy. The grips were wired into one of the switched circuits of the fuse box and then I was able to check that I had actually installed the fuse box properly. Warm grips equalled success!

Righto, now we're getting somewhere, time for the next task - a GPS mount from Twisted throttle so that I could also use my Zumo on the DL. Also attached to this mount was a Garmin cradle to hold the GPS and provide power to the GPS.


The mount is a nice piece of kit and is also designed to reduce vibration from the bike and mounts very neatly underneath the windscreen using it's mounting holes. I was also able to route the power cable and a stereo cable (to plug my helmet speakers into the GPS) back through a couple of gaps so that things were kept tidy.

The GPS was then wired into the fuse box via one of the always hot circuits. I want it like this so that it can be left on during stops so it continues to record data and doesn't take time to start up each time.

Finally it was time for one last job before putting everything back

together -
wire up an accessory
socket. The bike came with an accessory socket mounted in the left hand side fairing but the previous owner had never bothered to wire it up. This was as easy as running some wires from the socket to the fuse box - once again using a switched circuit.

Job done, I tested the socket with my little 12v compressor (success again) and then finished my day's farkling by tiding up all the wiring and putting the bike back together.

I ended up putting quite a few hours into all this but I'm very happy that everything went well and all the farkles work! I also enjoyed myself and probably learned a few things about how the bike is nailed together and how things work...

Now to place a few more orders...

Saturday, January 23, 2010

Tunes

Over the past week or so I've been playing around with the idea of taking music with me on my rides and today was the first decent ride I've been on to test my setup.

Prior until now I've been worried about having to have music at a high volume to overcome wind noise or just plain having too much noise in the helmet - I hate wind noise and also didn't want to increase wind noise by removing ear-plugs and adding speakers of ear phones.

In the end what I've done is hack up a helmet speaker system that I got with a walkie-talkie years ago (in a hopeless attempt to have bike to bike comms) and mount the speakers in my helmet. This then plugs into the Zumo for the music source. The way that the speakers have been placed also allows me to still wear my custom ear plugs too.

So does it work ok? Well, yes - good enough for me anyway. With ear plugs in and the Zumo volume on 100% I can hear the music just fine (at pretty much any speed) and it is not too loud. Naturally with the ear plugs in the wind noise is kept at bay too. Trying the system the other day without ear plugs had me running the volume at 60% but the wind noise was interfering with my listening pleasure. Another thing that I'm happy with is the speaker placement - I was concerned that they might rub or annoy my ears but even with the ear plugs in they do not touch anyway and the helmet remains comfortable.

Distracting? Well, I don't think so. The system is not loud and although I did find myself singing occasionally (had to shut up as I rode through Marton), I was able to navigate the bike through some wet and windy back roads without ending up in a fence. The good thing about having the music coming from the Zumo rather than an ipod in my pocket is that I can easily control the volume of turn the music off if necessary.

Now, to get a bigger SD card for the Zumo...

Sunday, January 11, 2009

Zumo Install pt 2

As mentioned in my write-up of my Auckland trip (http://banditrider.blogspot.com/2009/01/friday-night-ride.html), the purpose of the trip was to look at different mounting options for my Zumo as the handlebar mount was a bit in-ya-face. I returned with a stem mount and got it installed this afternoon. A brief road test proved that it is in a better position (not distracting) and that it wasn't going to wobble around too much or fall off.


Saturday, December 20, 2008

Early Xmas present

I've been looking at GPS units for a while now and initially wasn't going to go the whole Zumo hog due to the cost. I priced up other units and waterproof mounting options etc but then a Zumo came up for sale on Kiwi Biker at a good price - about the same as the other options + mounts that I'd been looking at. I couldn't pass it up and so here it is.

At the moment I'm using the handle bar mount which came with the unit and which is supposed to be on the left hand side but as my heated grips controller is there then they had to go on the right hand side. It's not in too bad a position and is not quite as "in your face" as it looks in the pictures - when riding you have to look down to see the screen. I still think that I'll end up with a different mount more centrally located to get it more out of the way.

I'm really looking forward to putting it to the test on a decent ride (next year's Southern Cross for one) and it should be great for rides like the Grand Challenge.