My GoPro (Hero 9 black) has been giving me a lot of grief lately with it deciding on the day whether it wanted to record or not and for how long. I persevered with it (even when it lost what would have been some sensational video of us blasting out of the Nevis in Colin's buggy) and tried different cards and what not, but it sucks when it dies halfway through recording a hyperlapse of the NI800 and things like that.
Over Labour weekend there were all sorts of sales on and there were deals on GoPros and others, so I decided to go for it. I had already decided that if it was going to be a GoPro that it would be a 12 rather than a 13 as I didn't really see any benefit in the 13 over the 12 for my basic uses but then I saw the DJI Osmo Action 5 Pro on a site - then the umming and arring really started...
With the Action 5 being dearer than the 12 but cheaper than the 13 and me loving the video and photo quality from my DJI drone, I really needed to do some research. Naturally, there were plenty of differences to mull over but in the end, it came down to memories of past issues with other GoPros (as well as the current one), the apparent build quality of the DJI and nearly double the battery life that had me going for the DJI. The two OLED touchscreens are nice but really just gimmicks - one rear screen would be fine.
It's actually a whisker smaller (height) than my 9 but very solid little sucker and it came with the protective cage and quite a sexy mount that of course is compatible with all my GoPro mounts. Ali-Express and Temu seem to have plenty of accessories for it too...
Apparently the DJI App for editing video on your phone is pretty good (and I've edited drone footage pretty easily on the phone too) but I'll be using the computer mostly for this.
Anyway, it needed a trial run last Sunday. I only recorded in 1080 and then Youtube stuffs the quality anyway, so you'll have to believe me that the video looked good on my computer. But most importantly it worked on the day...
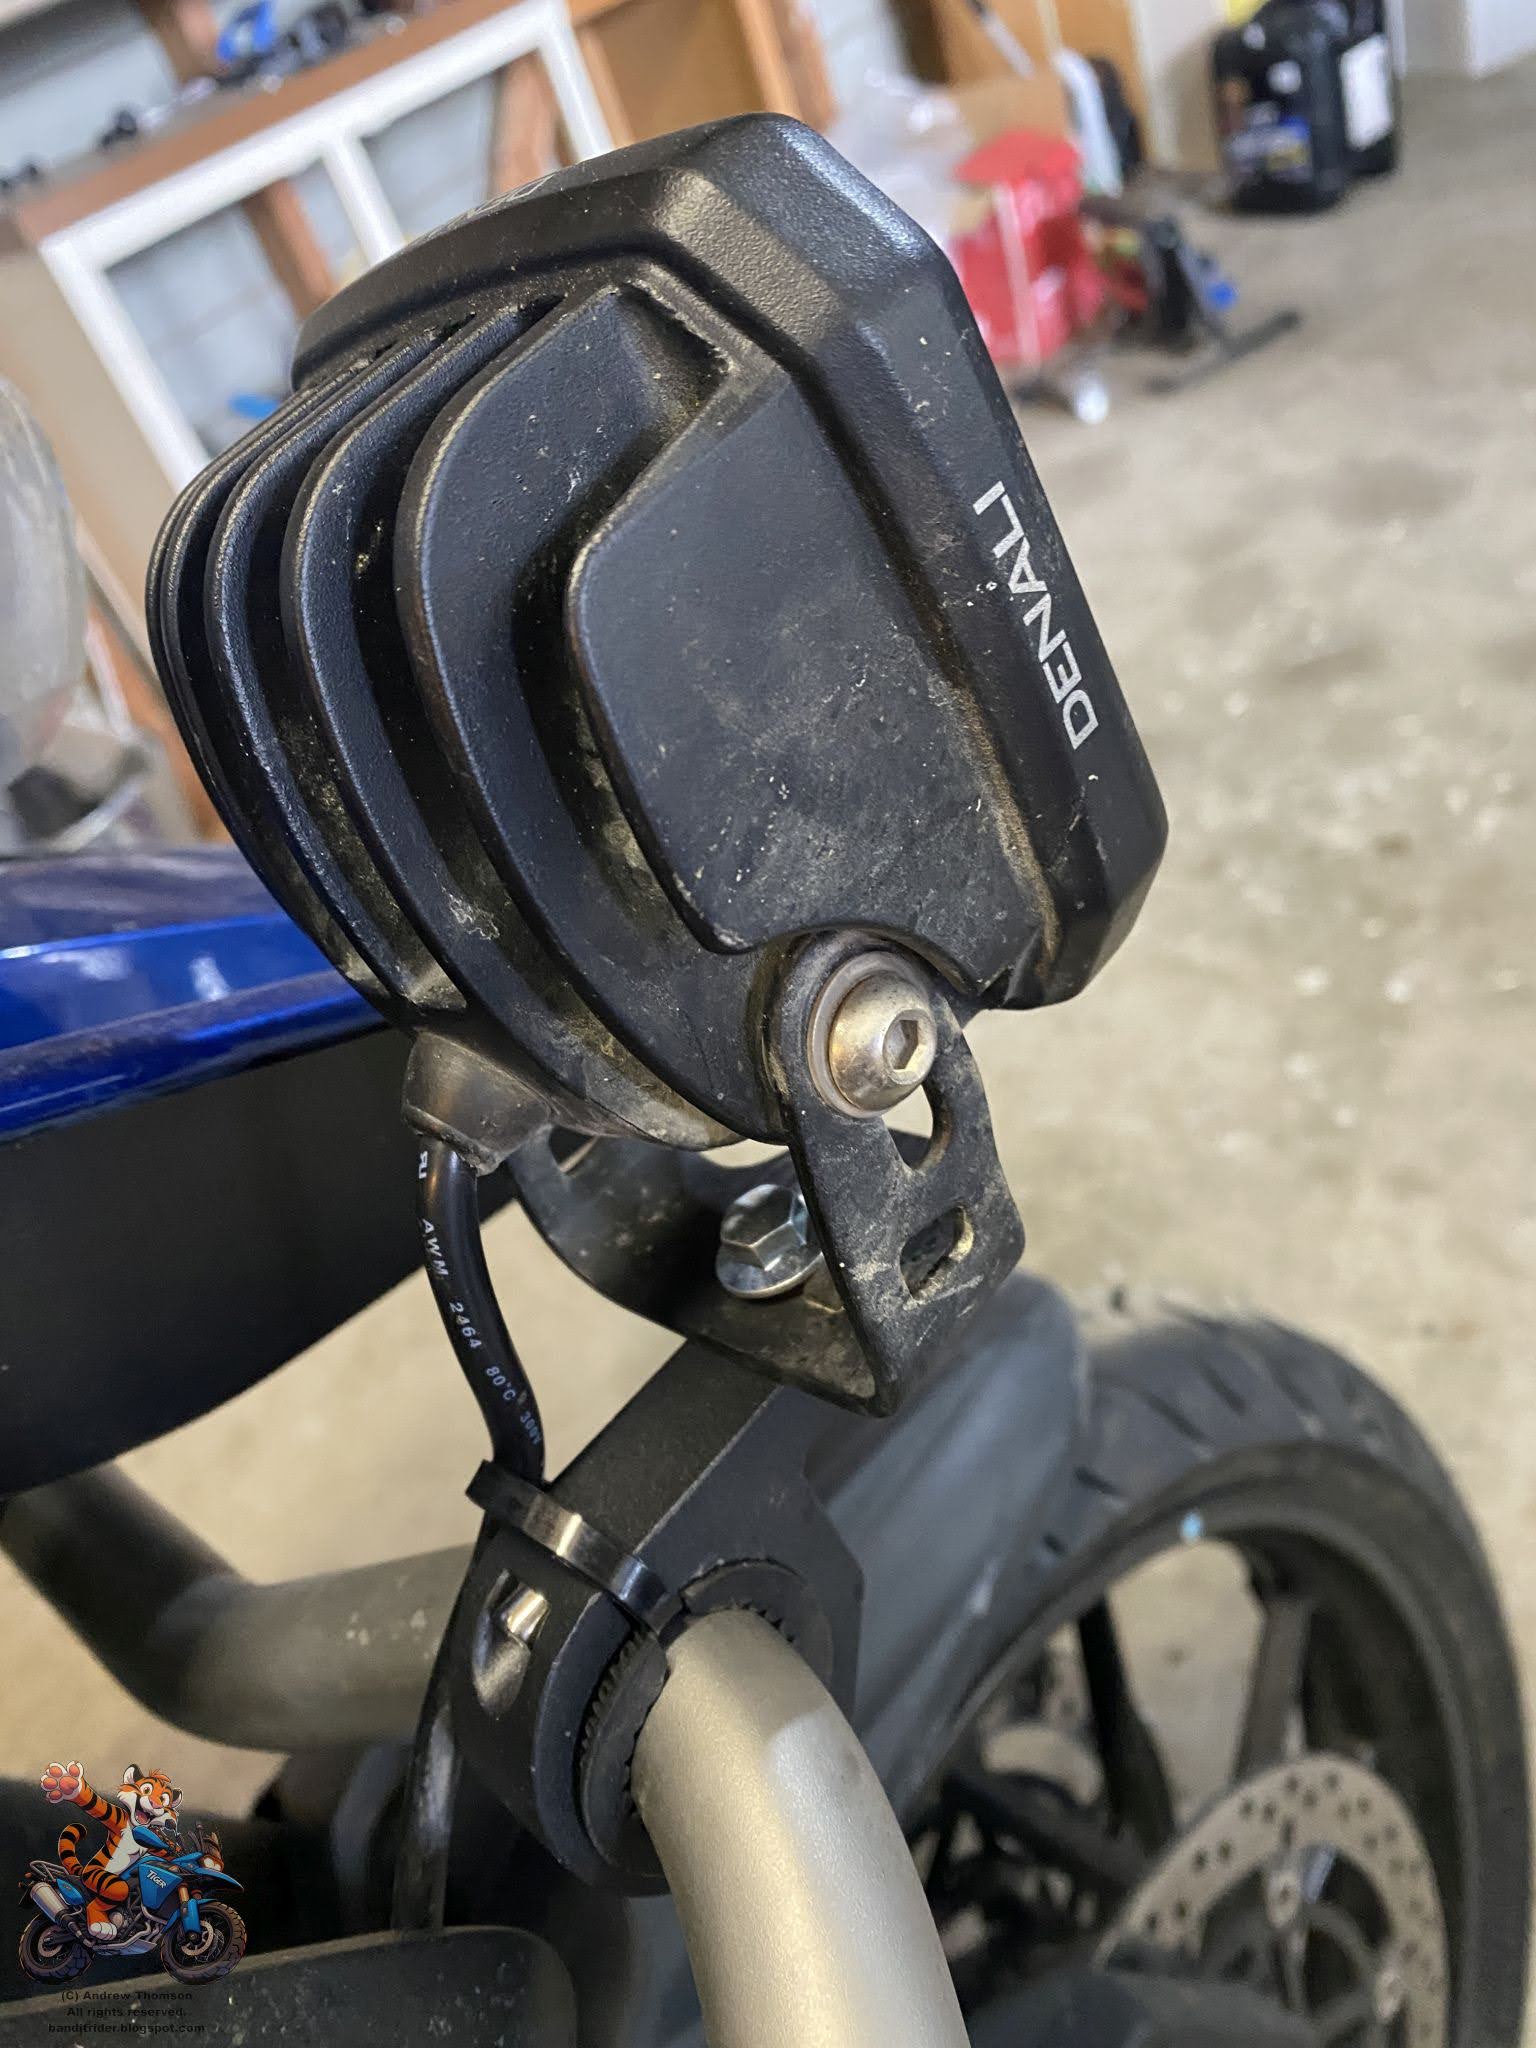
Having a flash set of Denali's on the T7 seemed a bit risky with the sort of riding I do on it so I started looking at how I might swap them over to the Tiger.
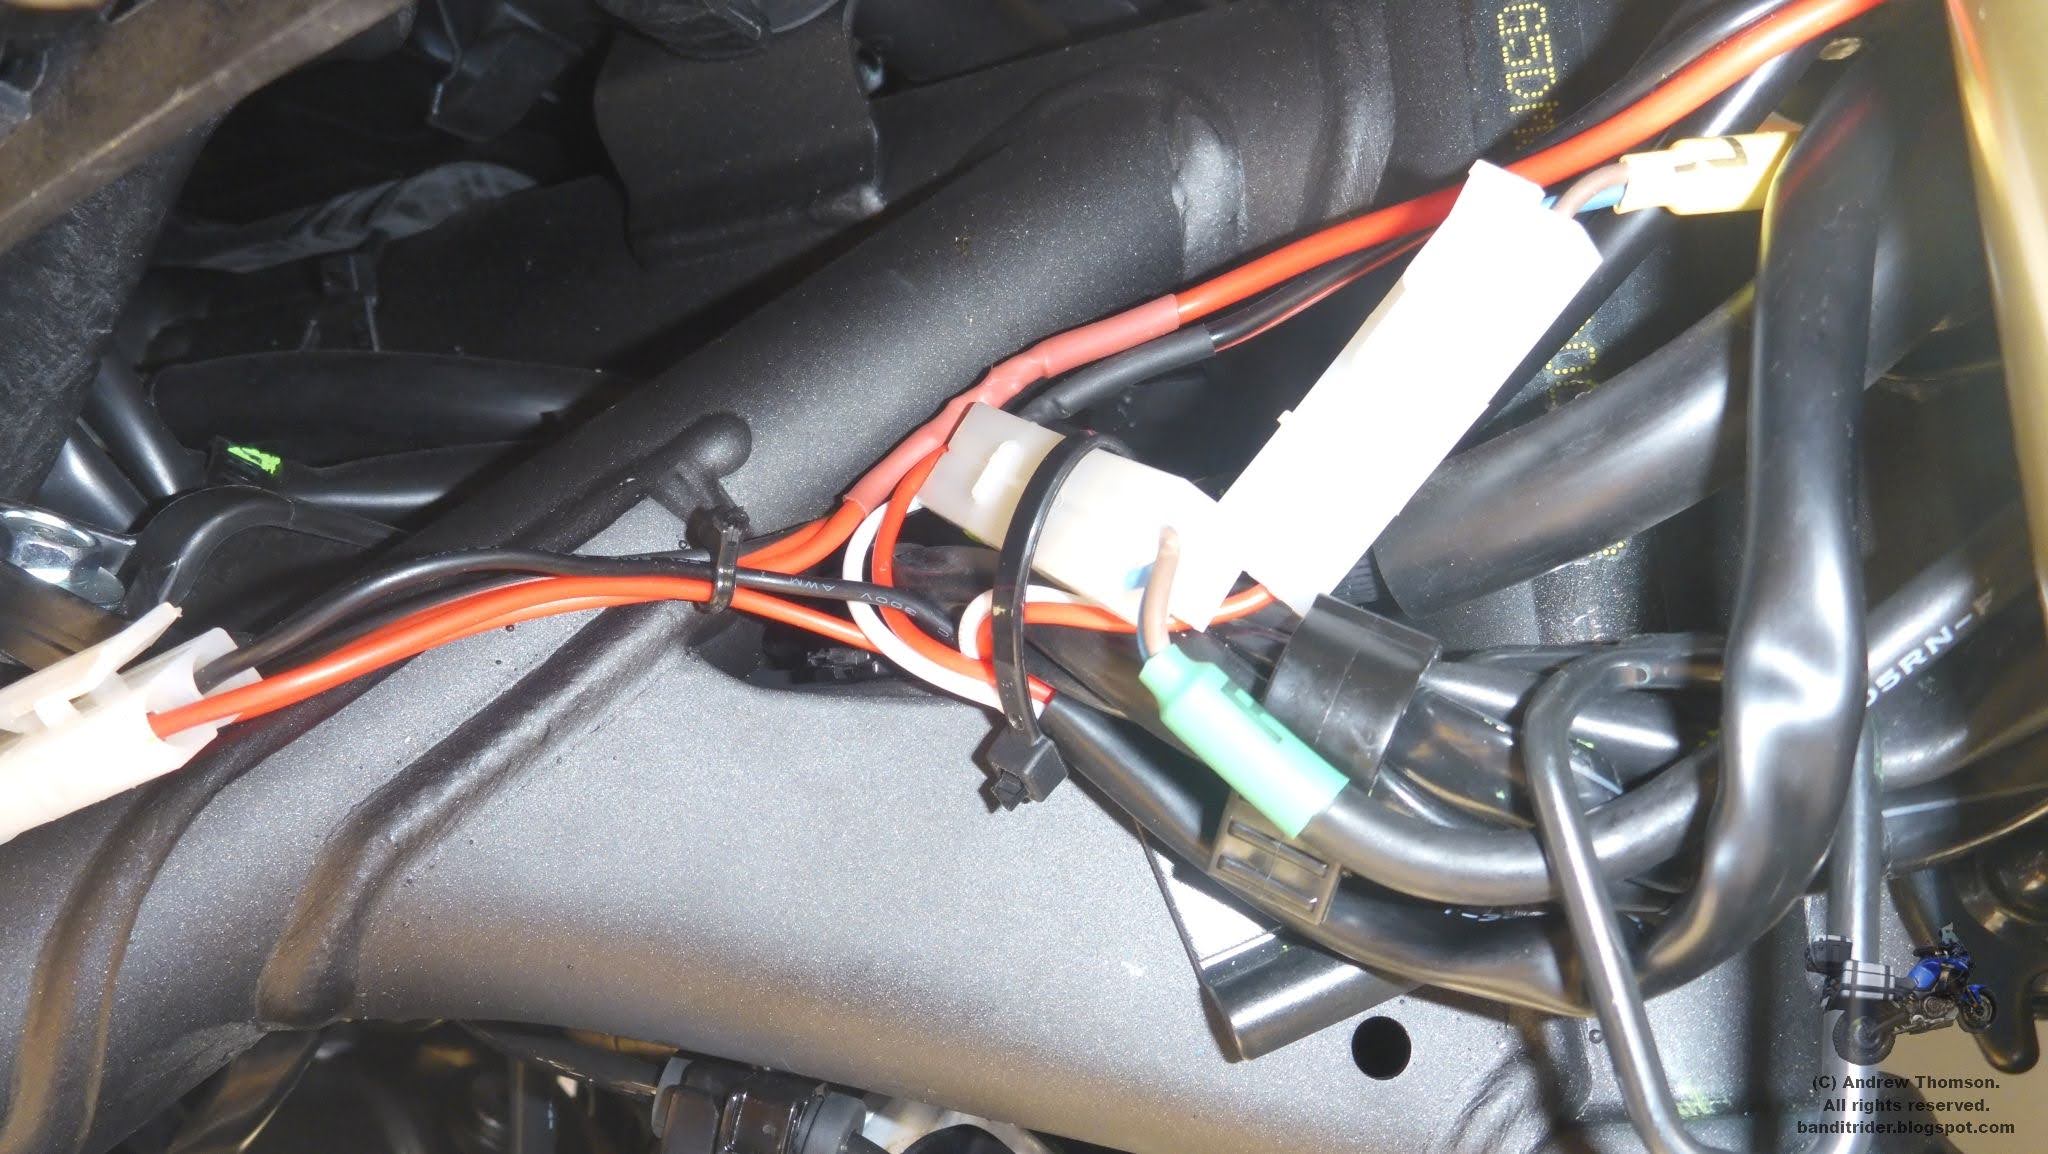
Well, I'm no electrician and the Tiger has a Canbus system that you can't just go chopping into. But, there is a solution. An outfit in South Africa makes a dohickey called a ezCan and Denail also sell these with under the Denali Cansmart moniker.
A quick look at NZ (and Oz) retailers and they all seem to advertise Denali stuff but don't seem to stock it (and their prices are eye-watering). I did a net search and discovered abikething.com and a ton of really helpful videos by the owner including the below one where he kitted out a new Tiger with all the bells and whistles:
His prices were also a lot cheaper (still not a cheap farkle) and he had stock. A couple of clicks and about a week or so later a box turned up. Some cheap Ali-express mounts also turned up around the same time so that was handy 😉
I'd bought the Deanli branded unit as the wiring leads that come with it plug directly into Denali stuff. And this is where I hit a problem. My Denali's are reasonably old and come with a 2 pin plug whereas the new ones (and the Cansmart loom) come with 3 pin plugs, bummer.
A few emails and I was back in business. I just had to cut into the super nice Denali lead and wire on a 2 pin plug. Routing the cables was pretty easy with some of the plastic removed and then it was ready to hook up the laptop to the Cansmart and tell it what it was plugged into it and how I wanted it to work.
The Cansmart uses the bikes OEM switchgear
This ended up being child's play with the only issue being a laptop falling off the bike onto the concrete floor...it seems to be working though...
The video shows most of the trickery that all works from the bike's standard switch gear, but here's a list of how I've set it up (the software allows you to play with lots of things and the Cansmart has 4 outputs for 4 devices/sets of devices):
the Denali's are not active automatically (good for WOF time), but a button press turns them on
with the bike's lights on dip and the Denali's active, the Denali's come on at about 30% brightness (adding a second set of DRL's) and the headlight is actually brighter
hitting high-beam gives maximum output
flicking an indicator on turns the Denali's off to ensure that the indicators are visible. I could have actually wired the lights independently rather than as a set and then only the light on the same side of the bike would go out when the indicator was switched on. I opted for simpler wiring.
hitting the hazards alternates between spots and indicators - should be fairly obvious...
flicking the high beam 3 times (actually tricky on the Tiger) causes the lights to flash
Hitting the horn makes the lights flash
Pretty cool, shame about the video:
You may have also noticed another farkle in the shape of a decent horn. The Cansmart is setup to control Denail Soundbomb horns too. These are made of gold too. So, I found a knock-off on Temu and ordered another, different mount from Ali-express (after watching the first video in this post I had a fair idea what I needed).
I wonder how long it will last there?
A bolt just asking to be trimmed...
The hardest part was getting the horn in place and being able to tighten mounts etc. I had to try a few different ways but finally got it in and secured. Routing the wiring was easy and then all I had to do was connect the laptop (no dropping this time) and tell the Cansmart that it had a horn connected. Done, time to film that video...
Oh, and I couldn't ignore the T7...
These are cheapies like on the S10. They're damn good though and I won't cry as much if I break one...
Only issue is that they are not hooked up to go on/off with the high beam which is what I need. The T7 has a weird system where the high beam trigger wire only put's out something like 0.9v. This isn't enough to drive the relay (well, that's what I think the issue is) and apparently if you tap it and use it for the trigger then you can even damage the electrical system - I'm not too keen on that.
There is however a way to do it which I am cautiously investigating.
After a not so nice trip in the dark (and before a big trip) on the Super Ten I decided that she needed some more watts pointing up road. Previously I had a set of expensive Denali D4's on the Super Ten but I've moved them over to the T7 as I was supposed to be selling the S10...(The selling bit hasn't happened yet and the bike performed as flawlessly as ever on a very quick 3,000 odd kms down South last week).
Anyway, back to the lights. I'd been browsing on Supercheaps website (as ya do) and noticed a set that looked like they might work on the bike and for $89 I thought, let's give it a go...
They are Ridge Ryder branded lights with each unit holding 6 x 5 watt leds. They even came with a flash harry harness which I didn't need as I already had one on the bike with some junk chinese leds. In about ten minutes the junk ones were gone and the new ones installed.
The Allen bolts allow adjustment of lights
Well, they work in the shed...
Once fitted, I had to wait a while for it to get dark so I could do a little road test. one of the things I liked about the Denalis is that each housing had two spots and two floods giving both a long range peek while also lighting up quite a wide swathe immediately in front of the bike. The Ridge Ryder units were all spots.
I needn't have worried...
Not bad at all and about 1/7th of the cost of the Denalis...and I just got a credit as they put the lights on sale this weekend...
I can also confirm that they were perfect for running the Buller Gorge at 5:30am last week...
Yeah, I know, I've been lazy with my posting. Maybe after I get this wee one done...
Yesterday was maintenance/farkle time for the T7. I started off by absolutely spoiling the bike by cleaning it (leaving clumps of mud all over the place where said washing took place) and then swapping out the oil and filter. Easy stuff.
Next up was a wee upgrade. Glen (and quite a few guys) had recently upped his front sprocket by a tooth to drop the rpms a tad when cruising. He reported that the bike was still fine with the slightly higher gearing and after riding with him a few weekends ago I decided to give it a whirl too.
I new that it'd be interesting getting the sprocket nut off after changing one on the WR and needing to borrow an impact driver. This time around I had to borrow a 30mm socket from Ken who lives just up the road. I then proceeded to try to loosen the nut myself.
Yeah, that wasn't going to work. I couldn't hold enough rear brake on and lean hard on the bar to loosen the nut. Using a tie down to hold the brake on didn't work either - I didn't have enough weight on the bike and the brake wasn't on enough to stop the wheel from turning. Luckily Ken was just up the road...
With Ken holding the bike and standing on the brake I was still not getting anywhere. Time to get serious...
Yeah, it's nearly as long as the bike...
Eventually, the super bar extension finally cracked the nut and we were in business.
Out with the old and in with the new.
A bit of loctite and some peening on the nut dohickey and hopefully it's not going anywhere. Then everything was back together and the chain adjusted to suit,
For the oil change I had to remove the standard skid pad but couldn't find it in me to stick the same one back on so slapped on a new plastic Acerbis one.
It's quite a bit bigger and offers a bit more protection to some of the critical bits and bobs and is designed to try to help keep crap off the shock which could damage that too. Looks good too - Colin and Andy never noticed it today...
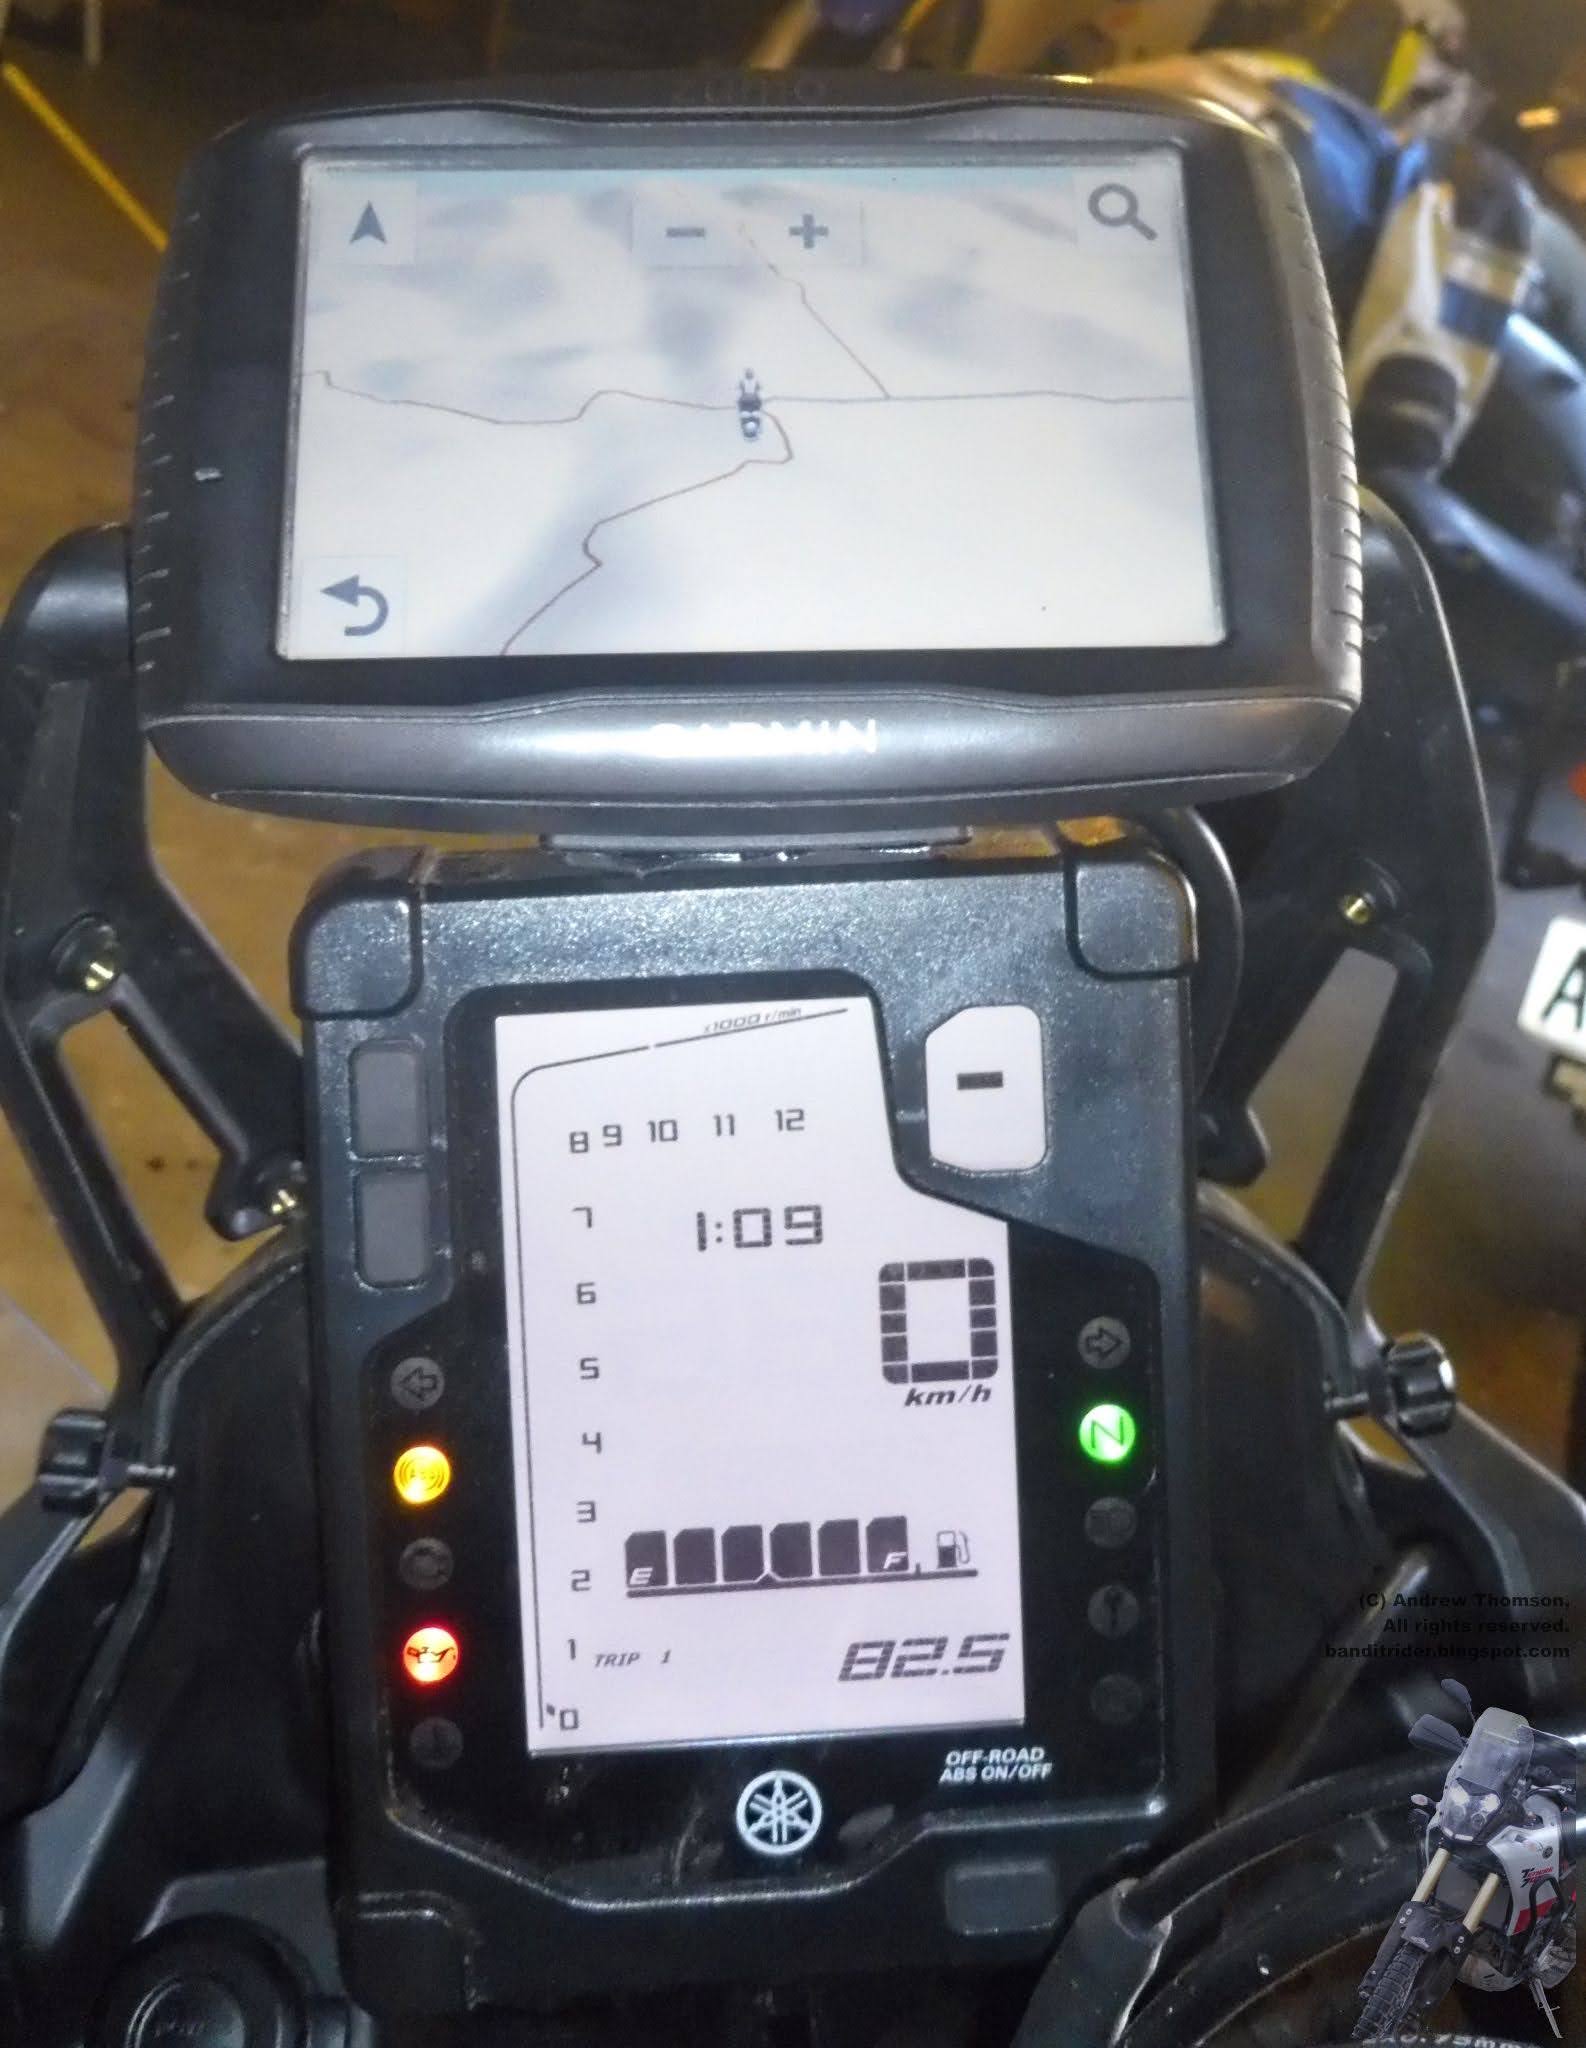
One of the most important items I wanted to get sorted on the T7 was the GPS. Before the bike even arrived I splashed out on another (this makes 3) holder for my 595 but then waited until the bike arrived before sorting a mount. I should really have done a bit of research and got the amount underway too...
Anyway, the T7 comes with a hand little cross bar above the dash for things like GPS and phones etc. But to get the holder onto the bar requires some sort of mount. Ram mounts were an option but are expensive and tend to put a bit too much vibration into things - this is ok for a lot of applications but occasionally I might want to look at the GPS screen.
So, after trolling the internet I stumbled on a Rally Raid product that I thought would do and then bought the Chinese knock-off (or perhaps even the real thing direct from China?) and got it here for less than price of shipping the Rally Raid item...
Initially I just bolted everything up and gave it a go. You can see how that went...
Looks good
Hang on...
Ahhhh...
Not ideal..
That big GPS and the silly fat bit on the bottom of the holder are just a pain. Time to make something - Uh-oh...
Copying my idea from on the Super Ten, I chopped up a bit of the same bread board and made up a little spacer to go between the mount and the holder, allowing the GPS to be mounted up higher and be tilted so that I could actually see it...
Much betterer
Could have cleaned the screen before taking this pic - could have...
One ride down and everything is groovy with the mount. I may eventually pull it off again and give it a tidy up and a lick of paint. Or, I'll probably just go riding instead...
This week a couple of more packages arrived. The first one was a headlight protector (yeah, Chinese, but less than a quarter of the price of the Yamaha option).
This fitted up pretty easy and I quite like the look of it. There is a reasonable gap between the headlight and the guard so if something big hits it then I'd say the headlight won't get damaged even if the protector is written off.
Next up was another cheap little wind deflector for the screen. I have one of these on the S10 and it is great. I can mostly ride visor up year round, which is what I like to do - particularly on gravel. With the stock screen on the T7 I find it hard to ride visor up once the speeds get much over 50-60km/h.
The quality of some of the fittings on this one (the ones that attach it to the screen) don't seem to be as good as the one on the S10 and I'm not too sure how well this is going to work out on the smaller screen on the T7. Time will tell and there is something else on it's way that may help too.
Anyway, I'll need to ride the bike (damn it) to find out how good the little deflector is and maybe try a few different positions before the final verdict is made on it.
So yeah, stuff has been arriving in the mail and stuff needs to be fitted...
First up a tank ring for my Givi bag. Easy job but I'm not exactly in love with how it all goes together - a little flimsy. Hopefully it'll be all good.
The courier also brought a set of hot grips and an Eastern Beaver 4CS accessory power wing-ding.
The 4CS has one hot-all-the-time circuit and 3 switched. As with the S10, the hot grips won't go onto this system as the controller (as the PC-8 on the S10 does) might detect a voltage drop and not allow the grips to stay on. Direct to the battery they went...
Having installed a few sets of grips now, the job was pretty easy except for getting the LHS grip off. Man was it glued on! The heat gun didn't do any damage to the glue and the compressor couldn't get a look in. In the end the grip died...
Then it was time for the 4CS.
Before shot
This couldn't have been easier as EB make a pug and play kit for the Tenere (pretty sure they do an AT one too Steve, Dave). The harness plugs directly into one of the handy accessory plugs (see pic) that Yamaha provide and then it's just tidying up the wiring, fitting the fuses and hooking it up to the battery and hey presto.
After: I'll tidy up more once I connect the GPS and...
Also made up a cable to plug into the tank bag for USB charging and that's currently the only thing plugged into the 4CS. The GPS will be hooked up once I get a mount - I'm gonna try just running it off the USB, sitting in the see-thru pocket of the tank bag tomorrow/
The only other thing I've done is attached a GoPro mount to the crash bars. It's one I've had lying around for a while. I had to move it down the front of the bars so that I just didn't end up with the indicator on film...